Exploring Nature in Spring Masterclass
LIVE Session Kickoff on 4/11
Latest Podcast
Check Out My Latest Episode of
The Outdoor Classrooms Podcast
Join Membership
Collaborate and Connect with The CIRCLE Membership Community
Local In-Person
Join Us in the Secret Gardens Outdoor Classroom in Beverly, MA for a Local Class or an Event.
Did you know…
Your Outdoor Teaching Practice can
- Improve child development, limit stress and make children feel happier?
- Improve emotional, intellectual and behavioral development?
Why The CIRCLE Membership?
Access Community, Collaboration and Connection
- Broaden Your Knowledge
- Take Charge of Your Outdoor Teaching Practice
- Enhance Your Network & Be A Leader
- Make New Friends
- Stay Inspired & Motivated
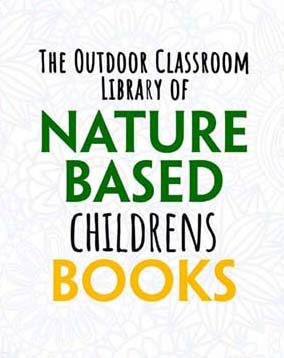
FREE Outdoor Classroom Library of Nature Based Children’s Books PDF
We Make Education Come Alive Outdoors
We Do This In 5 Distinct Ways…
Weekly
Podcast
“Seeds of inspiration” for outdoor playful learning, tips and actionable strategies needed in order to set in motion, manage and grow your Outdoor Classroom.
Online
Bootcamp
Conceptualize and create your own outdoor classroom from start to finish. Select lessons, outdoor spaces and prime children while mastering outdoor teaching.
Membership Community
Grow your outdoor classroom with the support, collaboration, & connection of our community. Access live events, workshops, outdoor classroom tours & more.
Workshops & Courses
Learn outdoor teaching problem solving techniques from anecdotes, tips, and lively participation; along with, nature-based activity ideas & resources to inspire.
Outdoor Teaching Bootcamp
Our Foundation course gives you a framework for focusing on the right things at the right time within your outdoor teaching practice; enabling you to layer in the key strategies and tactics that will help you grow your Outdoor Classroom.
- Included in CIRCLE Membership. Also sold separately.
The CIRCLE
Our membership program that taps into the support and knowledge from educators all over the world. We are stronger together; therefore, in community, we collaborate, and connect, while providing the motivation and encouragement to keep pushing forward. Learn to how to keep growing, and how to keep building a solid foundation for your outdoor teaching practice.
Nature-Based Workshops, Courses & Events
Led by Victoria Hackett, M.Ed. Whether your workshop, course or event is online, onsite or in The Secret Gardens demonstration outdoor classroom, Victoria blends theory with hands-on problem-solving techniques, true-to-life anecdotes, valuable tips, and lively participation. Her extensive experience as an educator and her background as an advocate and leader of Nature Based Education enables her to bring profound knowledge, and a pragmatic approach to every experience she facilitates.
- CIRCLE Members get access to our entire 1-hour on-line nature-based workshop & course library. Also sold separately
Local Parent/Child Nature Classes for Children
The Secret Gardens Outdoor Classroom in Beverly, MA is where your child(ren) will have fun, make friends and playfully learn outdoors. Each week we explore a new theme which is introduced through a nature-based children’s book and process art activity. Open-ended, child-led play is encouraged in our Mud Kitchen, Maker Space Garden, Raised Garden Beds, Music Wall, Wash & Dry Garden, Fishing Bridge, and Art Garden.
The Outdoor Classrooms Podcast
Latest Episodes
The Outdoor Classrooms Podcast is the podcast for teachers and parents and anyone interested in cultivating learning gardens and nature-based curricula. It’s a show that will help you transform your outdoor space, and “seeds of inspiration” for playful learning outdoors. Each week, Victoria Hackett and her guests will share tips and actionable strategies that you will need in order to set in motion, manage and grow your Outdoor Classroom.
What teachers are saying…
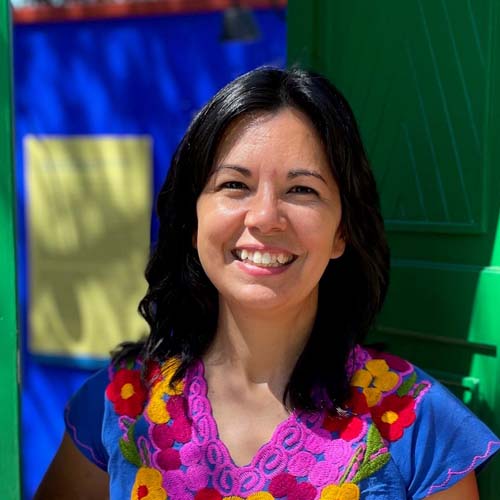
I am incredibly grateful that I made the decision to join the Circle
“The Circle provides me with the proper tools and a framework for moving forward, and even though I’ve learned so much already, I continue to find tremendous value in the support and inspiration in every meeting. I am incredibly grateful every day that I joined the Circle. It’s completely transformed my perspective as an educator, and I want to shout from the mountain tops how incredible it is to work with children outdoors! Frankly, after almost twenty years of working with children, I feel completely reignited!”
– Laura (Texas)
The Montessori Tree

The greatest impact is the Exploring Nature in Winter Master Class
“This course provides concrete and easy to implement tips and tricks not only for “getting through” these months, but for reigniting your own childlike wonder and curiosity in all that winter has to offer. I gained creative ideas, a fresh perspective and a deep sense of community with others in the class.”
– Michelle (Virginia)
Park ‘n Play Backyard Classroom
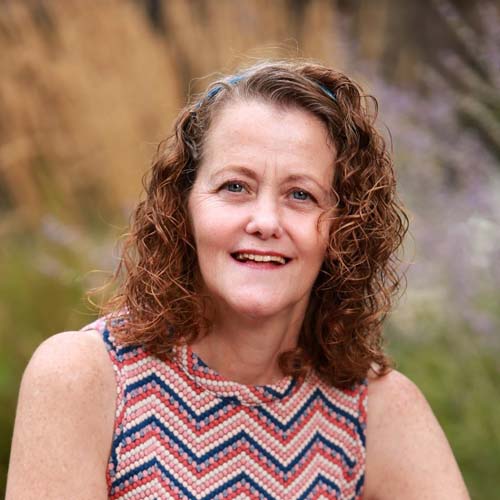
Wow…a treasure-trove of great ideas! I’ve learned so much
“Wow…a treasure-trove of great ideas! I’ve learned so much from this membership program and love adding more nature-based activities to my Outdoor Classroom every day! Victoria is a great instructor and I highly recommend this membership for all educators!!!”
– Julie (Massachusetts)
Kings Kids Daycare & Nature Preschool
Satisfied Natural Teachers
Online nature based courses & workshops and growing!
%
Sasifaction Guarantee
Hours of Course Content and Growing!

Our Philosophy & Approach
- We believe in creating outdoor environments that foster children’s exploration, collaborative learning, inquiry and discovery.
- We believe when children connect with the natural world in an outdoor classroom, they have access to rich developmental opportunities and playful learning.
- We believe every child in every school should have access to an outdoor classroom and to get there…
- We believe educators need the tools and training to teach outdoors successfully.
- We believe in learning from our stories in community and collaboration.
Hi I’m Victoria
As an educator, my outdoor classroom story didn’t start until I was a parent. Inspired to assist in spearheading the transformation of an old desolate courtyard into a children’s Garden & Outdoor Classroom at my child’s elementary school, little did I know this process would change my entire philosophy of education. Furthermore, trigger my research into The Four Types of Gardens, the Five Phases of Teaching Outdoors and the Three Approaches to Outdoor Learning.
I now provide resources and support for teachers and parents to create their own outdoor classrooms and backyard learning gardens. Through our platform at Outdoor Classrooms, the CIRCLE Membership, the Secret Gardens Parent/Child Nature Classes and the Podcast, my mission is to create a COMMUNITY of like-minded educators from all over the world who eagerly support, playfully learning and, willingly collaborate while on the journey to reconnect children with nature.

– Victoria Hackett
